You have no items in your shopping cart.


How To Clean Kitchen Cabinets and Fight Stubborn Stains
By: Andrew Saladino |  10 min
Last Updated: May 12th, 2024

Tired of looking at greasy fingerprints and grime-covered cabinets? Kitchen cabinets are essential for storing dishes, food, and other kitchen must-haves, but they can also become a breeding ground for dirt and grease.
The good news is that cleaning your kitchen cabinets doesn't have to be a chore. With a few simple steps and the right cleaning products, you can easily restore your cabinets to their former glory and keep them looking shiny and new.
Table of Contents
- What You'll Need
- 1. Empty the Cabinets
- 2. Wipe Down the Interiors
- 3. Get the Tricky Spots
- 4. Wipe Down the Exterior
- 5. Clean Around the Hardware
- 6. Final Wipe-Down
- 7. Organize Your Cabinets
- How Often Should You Clean Your Cabinets?
- How To Clean the Most Common Cabinet Stains
- Cabinet Cleaning Safety Tips
- FAQs
What You'll Need
Before you dive into cleaning your kitchen cabinets, gather your supplies to make the process smooth and efficient. Here's a checklist to get you started:
Cabinet Cleaning Checklist
- All-purpose cleaner
- Soft cloths or sponges
- Toothbrush (for getting into hard-to-reach areas)
- Bucket (for rinsing)
- Plastic putty knife (for removing stubborn dirt)
- Vacuum cleaner with attachments (optional)
1. Empty the Cabinets
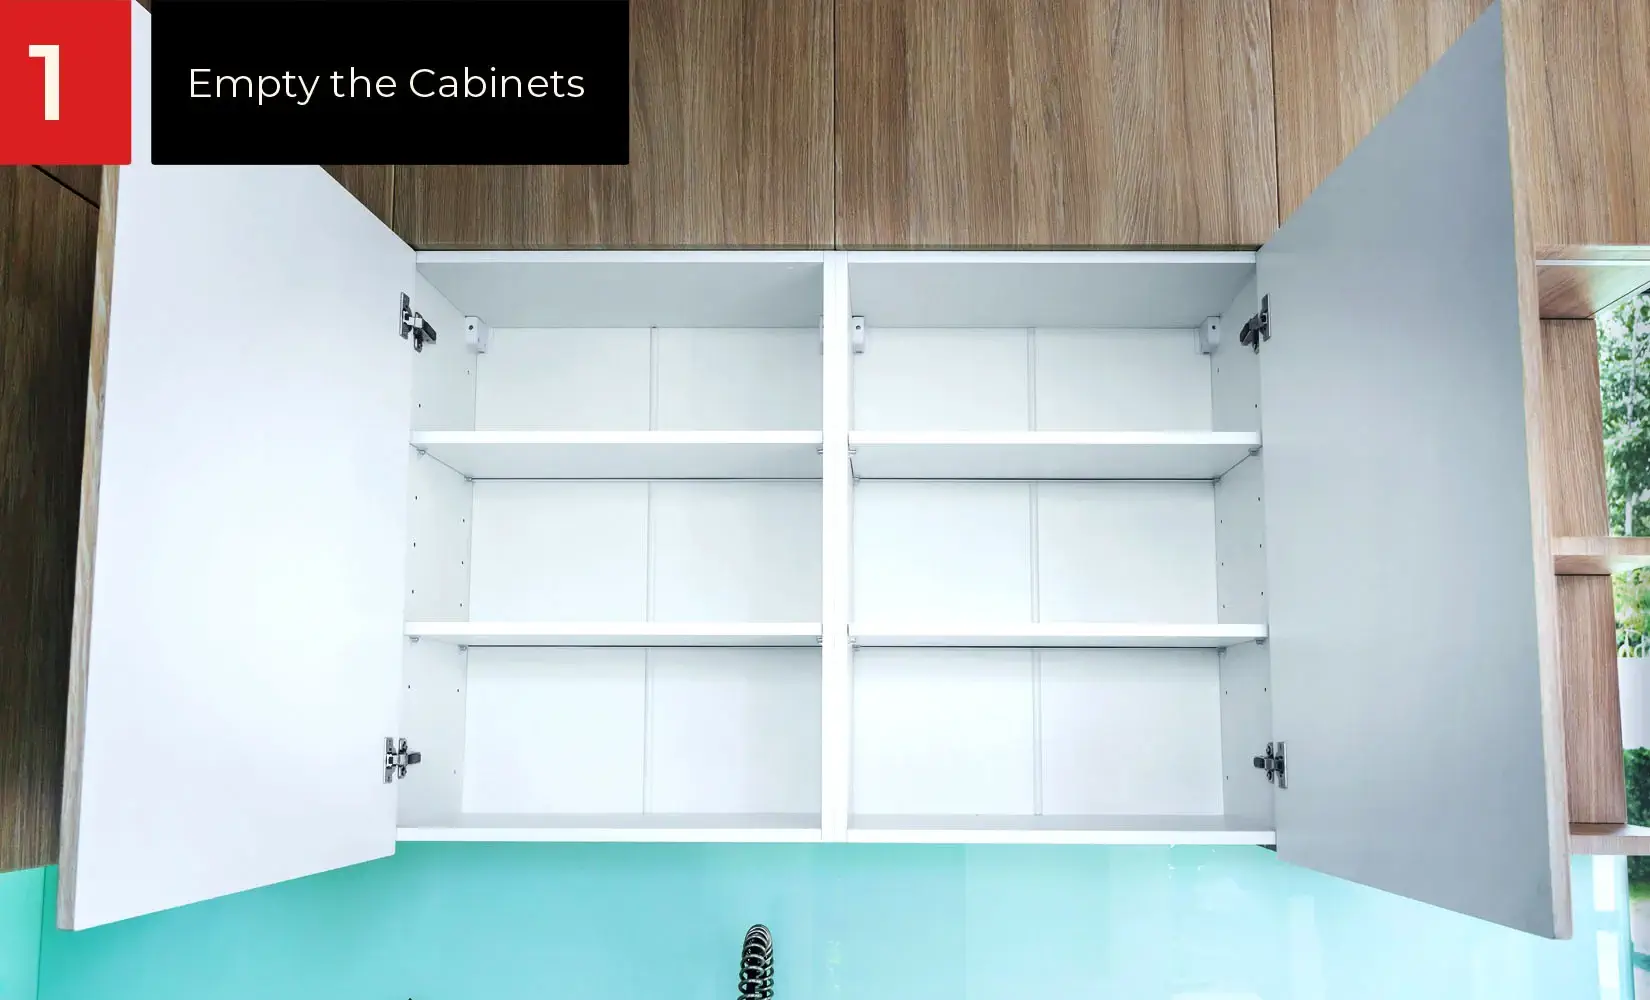
The first step to sparkling clean cabinets is to completely clear them out. This gives you a clear workspace to tackle every surface of the cabinet without obstacles or the risk of knocking anything over. Plus, it's a great opportunity to declutter and freshen up what you keep inside.
- Remove all the items from your cabinets and place them on a counter or table nearby.
- Toss anything that is expired or nearly empty.
- If any bags or boxes are worn or have holes, pour the contents into jars and label them. This will prevent any further mess.
Tip: Keep a list of the items you throw away so next time you're at the grocery store, you remember what to replace.
2. Wipe Down the Interiors

With your cabinets emptied, it's time to tackle the interior surfaces. While the outside of your cabinets may be the focal point of your kitchen, keeping the interior clean is equally important for hygiene and a fresh-smelling kitchen.
- Find a safe cleaner to use on your cabinets. Most eco-friendly cleaning solutions should work.
- Avoid harsh chemicals, abrasive cleaners, and products with bleach. Not only can these strip your cabinet finish, but they could also pose health risks.
- Spray down the inside of the cabinet and wipe down all surfaces thoroughly, including shelves, doors, and the back panel.
- Be careful around areas with glued seams, as excessive moisture can damage the glue.
Tip: You want to avoid letting your cabinets get too damp, so remember that a little goes a long way.
3. Get the Tricky Spots
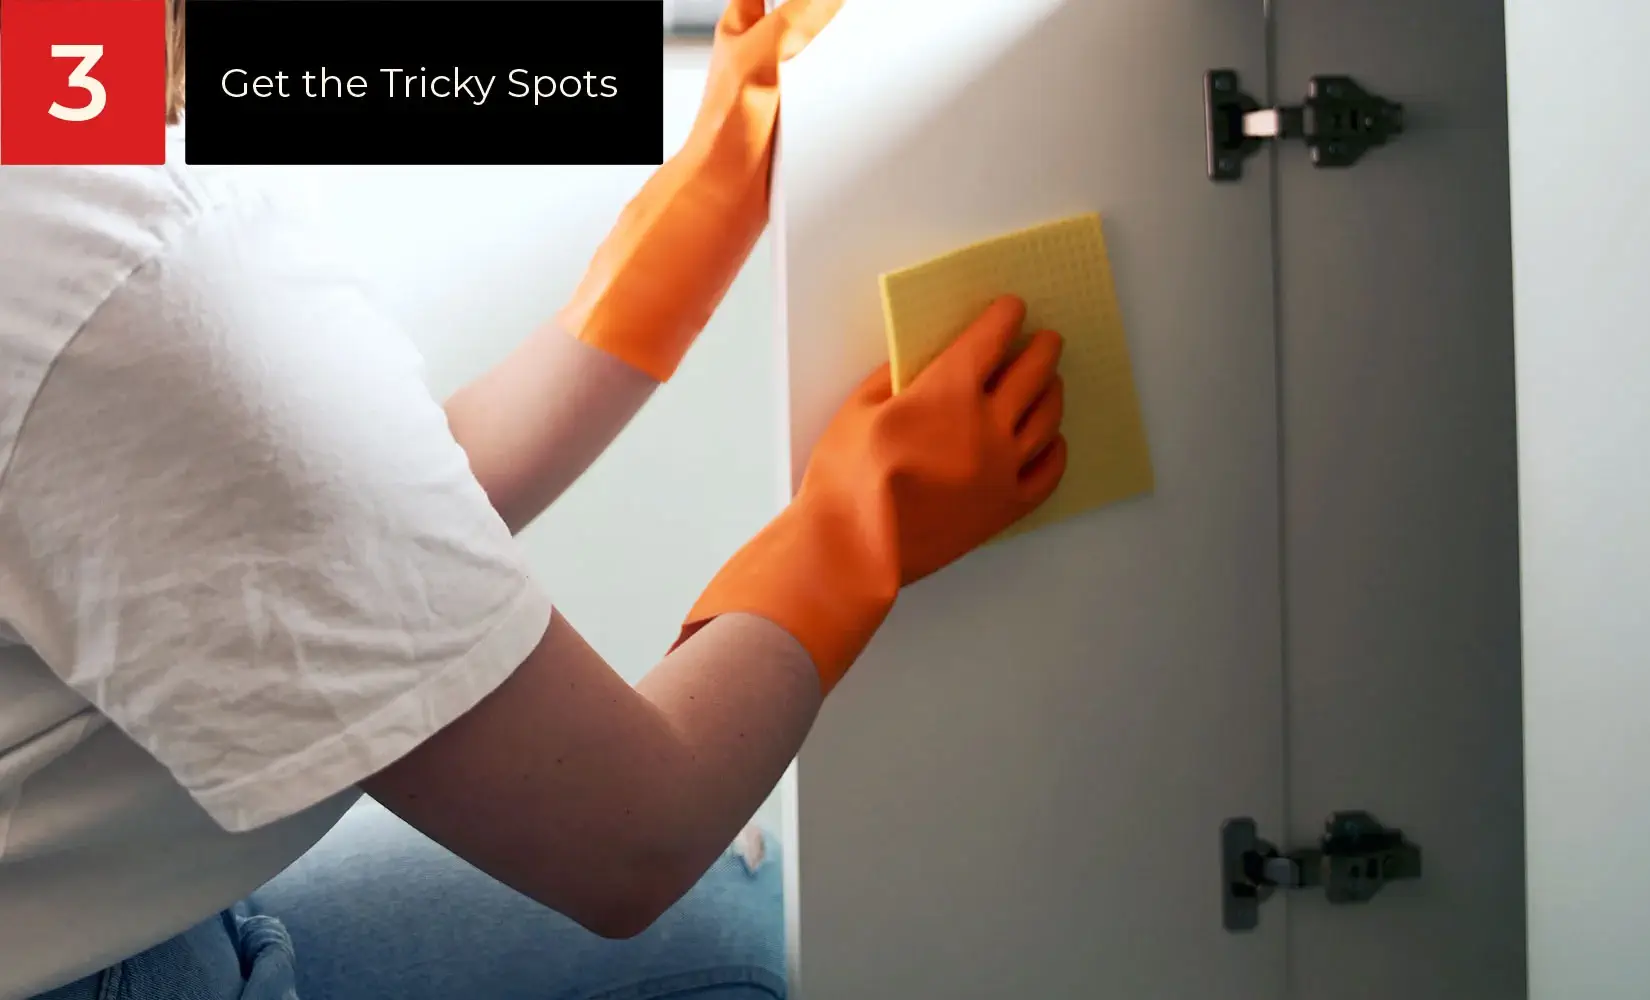
Anytime you're cleaning the kitchen, you're bound to run into some sticky situations. From grease buildup to food splatters, here are a few tips to tackle 'em.
- Create a degreaser solution by mixing a few drops of dish soap with warm water for areas caked in grease. Dampen a microfiber cloth and scrub the greasy spots.
- You can also use a white vinegar solution (equal parts vinegar and water). Spray the solution on greasy areas, let it sit for a few minutes to loosen the grime, then wipe clean with a damp cloth.
- If the grease persists, create a paste using baking soda and water. Apply the paste to the greasy area, let it sit for 15-20 minutes, then scrub gently with a damp cloth before rinsing clean.
- Target the gunky buildup on door frames and cabinet joints with a toothbrush.
- Pay special attention to greasy areas around the stove and sink, as well as crumb-prone zones near the toaster.
Tip: Once your cabinets and fixtures are squeaky clean, use a polish or sealant to help repel dirt in the future. Cabinet liners are also a great trick for easy cleanup.
4. Wipe Down the Exterior
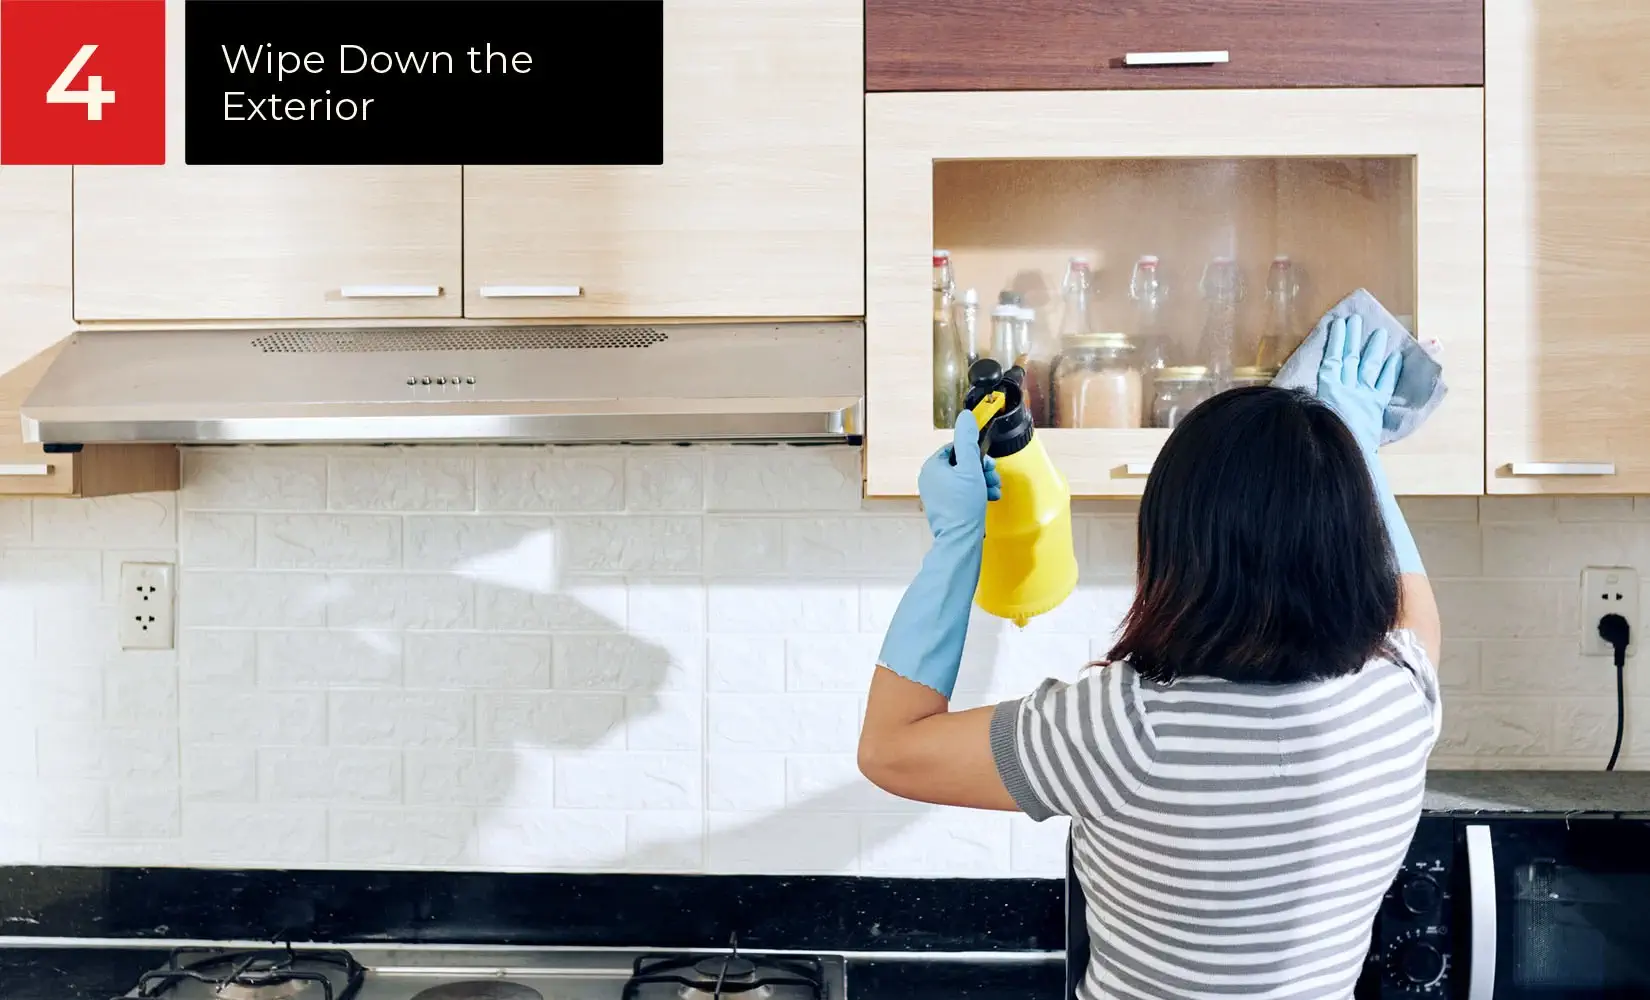
Now that the insides of your cabinets are clean, it's time to give the exterior a once-over.
- Start with the cabinet doors, spraying the same solution from step two and then wiping in smooth, even strokes.
- Wipe in one direction to make sure you don't miss any spots: up and down or side to side.
- Use a damp cloth to wipe away any residue left on the cabinet doors.
- Repeat these steps to clean the cabinet door frames.
- Switch to a glass cleaner if you have glass-front cabinets.
Tip: Don't forget to wash the sides of the cabinets, even in tough spots such as next to the refrigerator or wall. The edges can accumulate a good amount of debris.
5. Clean Around the Hardware
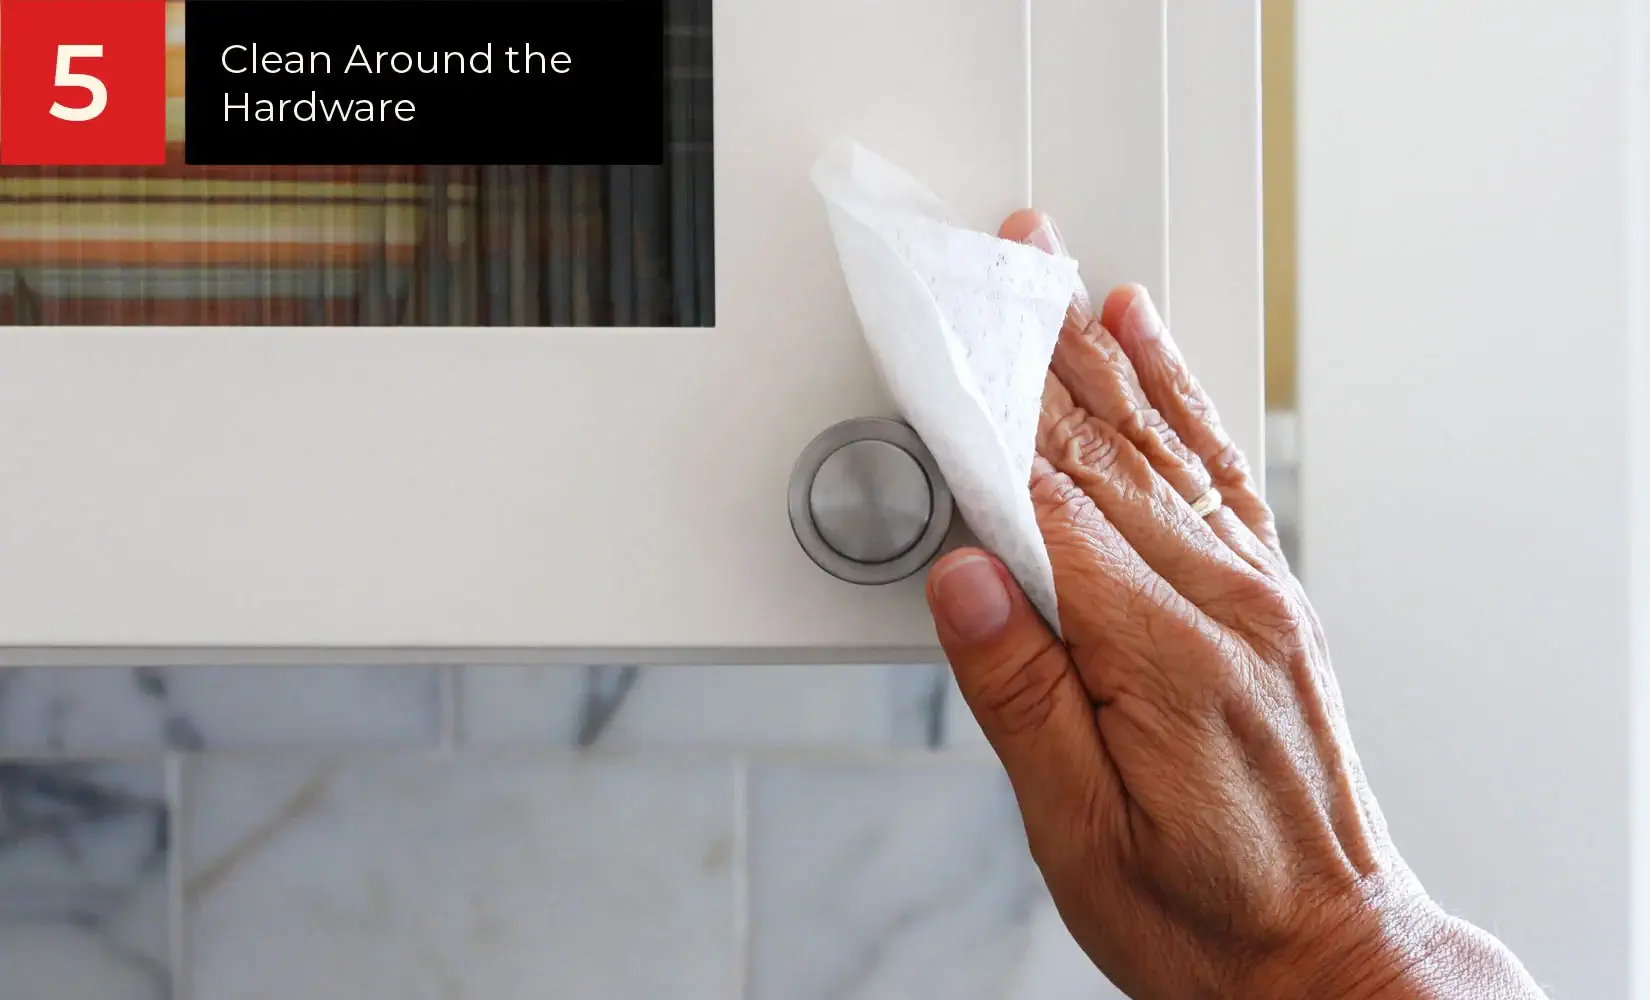
Don't forget the finishing touch: sparkling cabinet hardware! You open and close your cabinets a lot, so these areas may be the dirtiest. Here's how to make your cabinet pulls and knobs shine.
- Check your cleaning solution to make sure it won't stain the hardware.
- Use an old toothbrush to gently scrub the edges of door handles, knobs, and hinges.
- Dry off the hardware with a paper towel or microfiber cloth to prevent water spots.
Tip: If your handles or knobs are especially dirty, remove them and give them a good soak in a mixture of warm water and a dash of dish soap. This will help release any glop you may have missed.
6. Final Wipe-Down
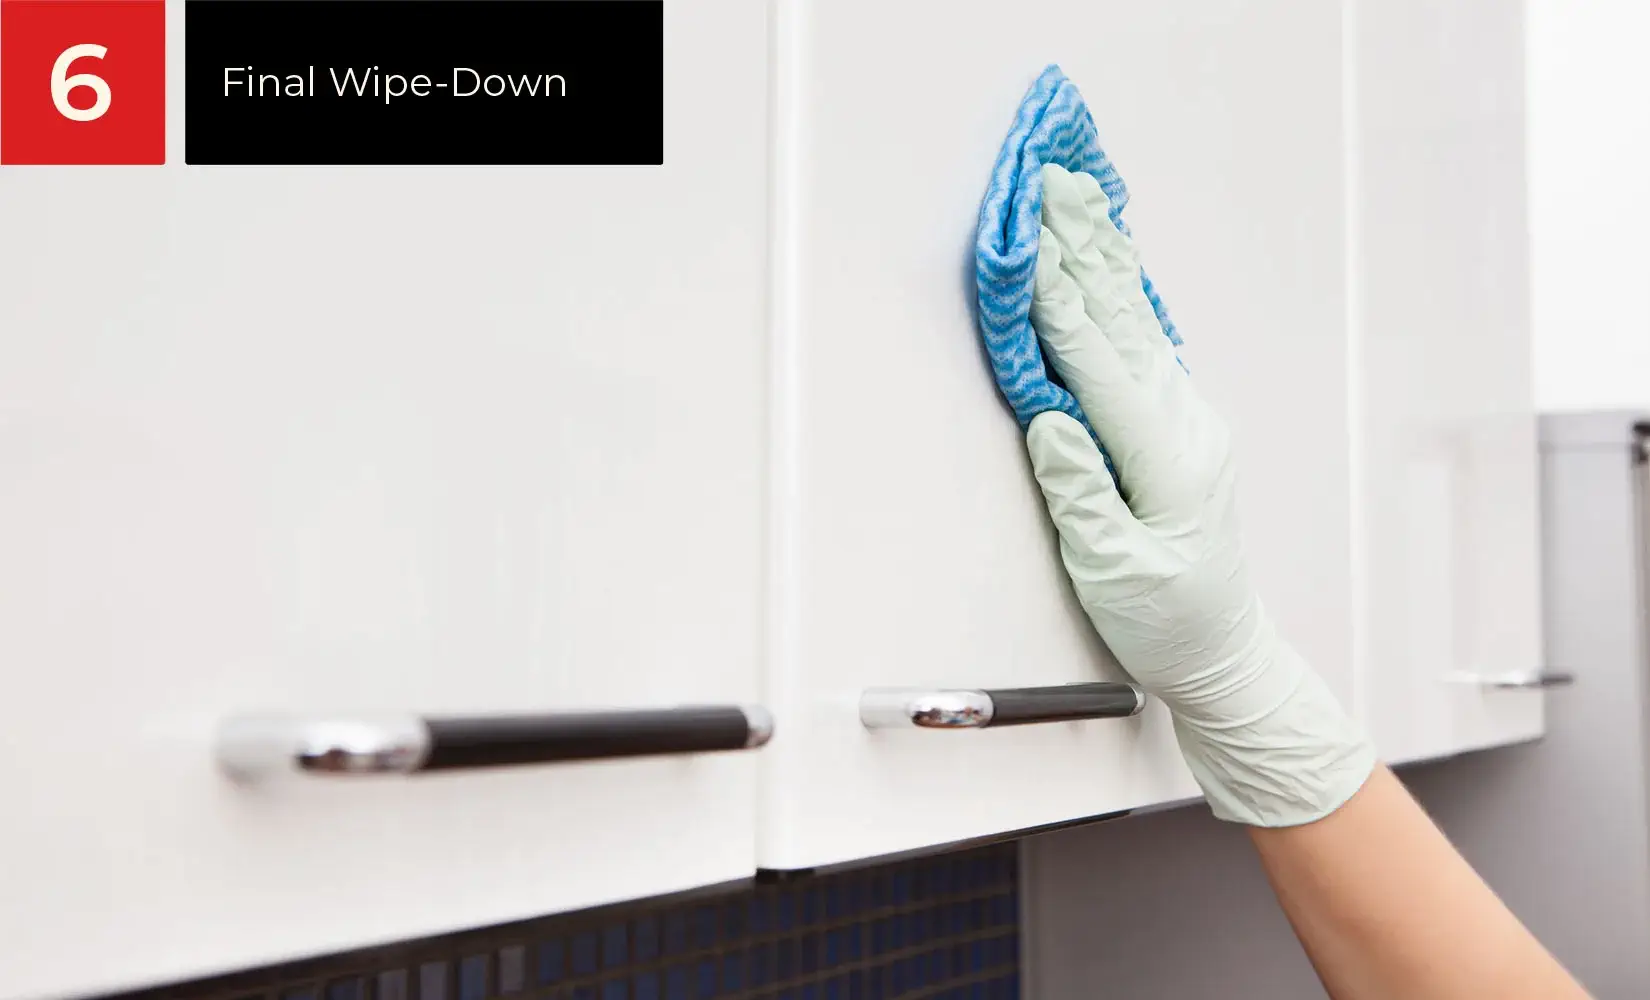
Before putting everything away, you'll want to do one last wipe-down to ensure you didn't miss anything.
- Wipe away any lingering cleaner with a clean, lightly dampened cloth.
- Reinstall any hardware you may have removed in the previous step.
- Double-check that all surfaces are completely dry before you start putting items back in the cabinets.
Tip: Place a few silica gel packs inside each cabinet to help absorb any extra moisture and keep everything smelling fresh.
7. Organize Your Cabinets
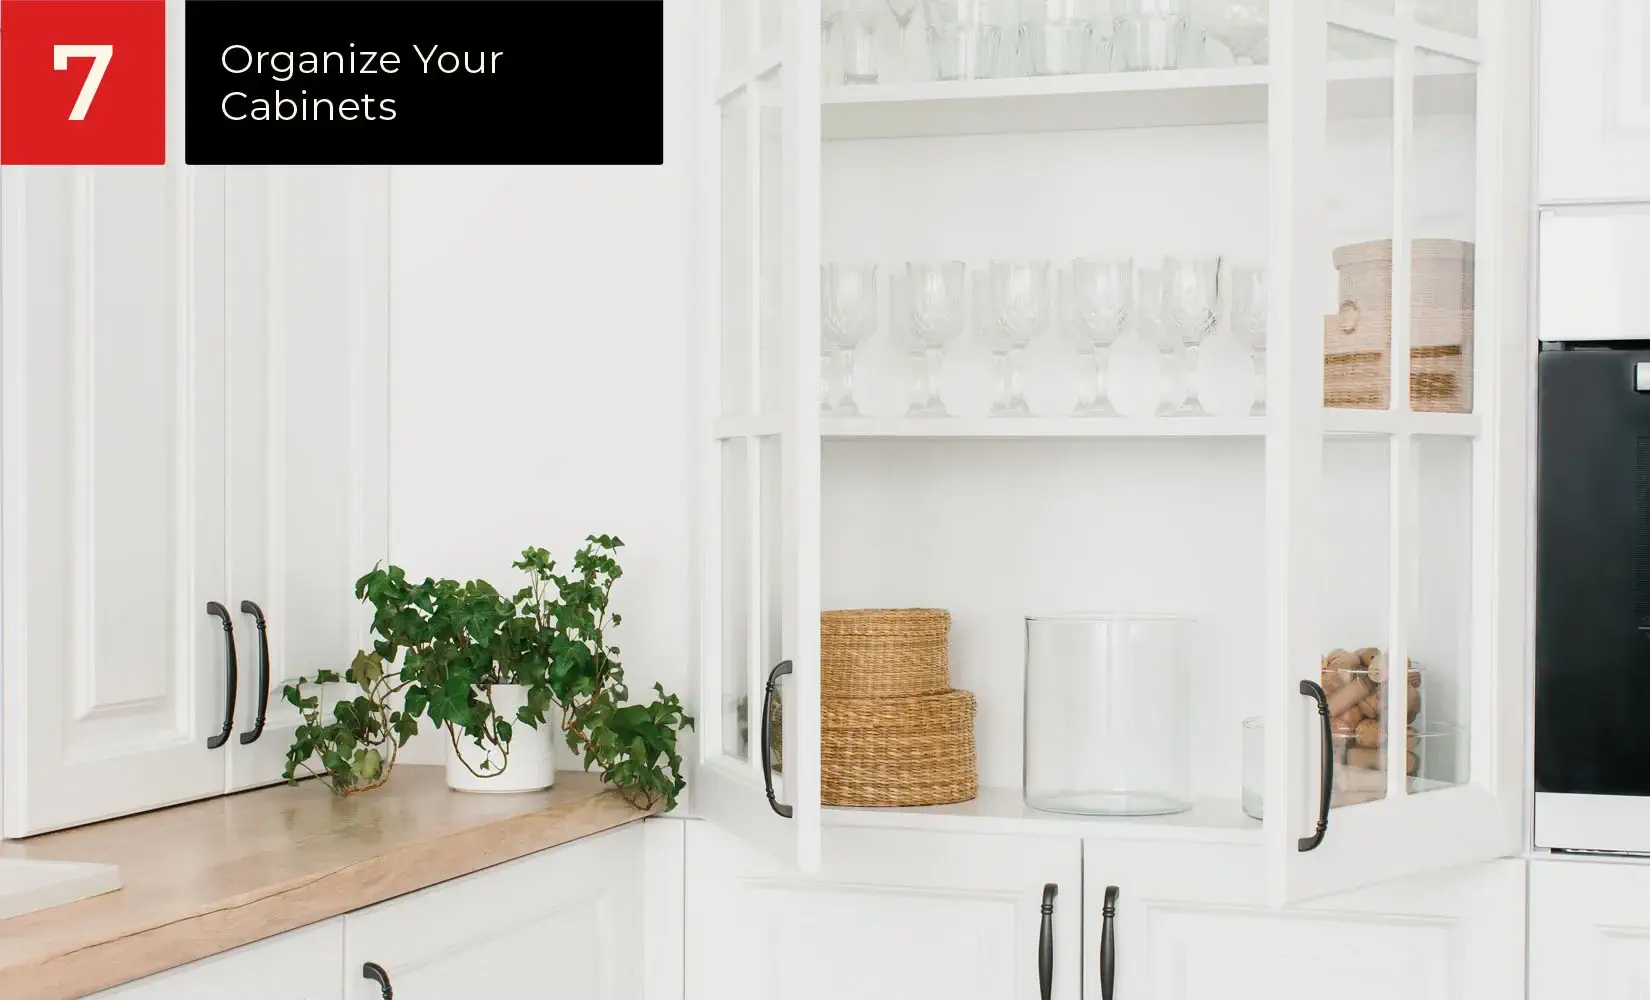
Now that your cabinets are nice and clean, it's time to put everything in its right place. But before you simply shove everything back in, take a moment to organize your cabinets for better functionality.
- Try grouping items together according to how often you use them and how easy they are to reach.
- Place larger, less-used items in the back of your cabinets and smaller, often-used items up front.
- Try using shelf risers or lazy Susans for easier access to items in the back.
- Wipe down any containers that may have accumulated dust or grime while in your cupboards.
Tip: If you were unhappy with the way you had organized your cabinets previously, this is your time to make a change. Get creative and have fun with it!
How Often Should You Clean Your Cabinets?
Cleaning your kitchen cabinets can be a process, but once you have a game plan and time set aside, it will be well worth it.
For a pristine kitchen, try doing a deep clean on your kitchen cabinets at least three times a year. Regular maintenance will depend on how often you use your kitchen:
- For light cooking: Aim for a quick weekly wipe-down of cabinet doors and drawer fronts to tackle everyday dust and fingerprints. You can do a deeper clean of the cabinet interiors, including shelves, walls, and back panels, every three to four months.
- For frequent cooking: Grease and splatters are more likely to occur, so wipe down cabinet exteriors more often, perhaps every other day. The interiors will also need more frequent attention, with a deep clean recommended every one to two months.
- For homes with young children: Sticky fingers are a reality! Do a quick wipe-down of cabinet exteriors more frequently (daily or every other day), and consider child-proof cabinet locks to minimize spills and messes. The deep cleaning schedule for interiors can remain at one to two months.
How To Clean the Most Common Cabinet Stains
Conquered the general cleaning but still battling some stubborn stains? From pesky water rings to food coloring mishaps, we'll equip you with targeted cleaning solutions to get your cabinets looking flawless.

Grease
Grease is a common enemy of kitchen cabinets, leaving behind a filmy, unpleasant mess. Thankfully, there are several effective solutions to banish greasy buildup.
How to clean grease off cabinets:
- Apply a solution of warm water with a few drops of dish soap to a microfiber cloth and scrub gently.
- Use a cleaning paste made from baking soda and water for tougher grease, especially on wood cabinets, which can be more sensitive to harsh chemicals. Apply the paste, let it sit for 15-20 minutes to loosen the grease, then scrub gently with a damp microfiber cloth before rinsing clean.
Water Rings
Water rings can leave unsightly white circles on your cabinet shelves. That's why it's so important to ensure your dishes are completely dry before putting them away.
How to clean water rings off cabinets:
- Create a mixture of equal parts white vinegar and water.
- Apply the solution to the water ring with a damp cloth and let it sit for 10 minutes.
- Wipe clean with a dry cloth.
Food Coloring
Food coloring splatters and spills are a lot easier to clean than they seem. Most only require a few simple household items to remove.
How to clean food coloring off cabinets:
- If the spill is fresh, gently wipe the stained area with warm water and a drop of dish soap, rinsing frequently to prevent the color from spreading. Dry the area with a clean, dry microfiber cloth to prevent water marks.
- For older stains, apply a baking soda paste and let it sit for a few minutes to allow the baking soda to absorb the color. Gently scrub the area with a soft brush (like a toothbrush) and rinse clean with a damp microfiber cloth.
Coffee and Tea
If you're a coffee or tea drinker, you're likely in a constant battle against these types of stains. The good news is that these methods for removing tea and coffee stains from cabinets will also work for your clothes and other fabrics!
How to clean coffee and tea stains off cabinets:
- Mix equal parts white vinegar and water in a spray bottle. Lightly mist the stained area (avoiding oversaturating the wood) and let it sit for 10 minutes. The vinegar will help loosen the stain. Wipe clean with a damp microfiber cloth and dry thoroughly with another clean, dry cloth.
- If the vinegar solution doesn't completely remove the stain, apply a baking soda paste and let it sit for 30 minutes. The baking soda will absorb the remaining color pigment. Gently scrub the area with a soft brush and rinse clean with a damp microfiber cloth. Dry thoroughly to prevent water marks.
Marker
Families with young children are no strangers to marker mishaps, but they shouldn't require harsh chemicals to remove from your cupboard doors. Here's how to tackle them naturally.
How to clean marker off kitchen cabinets:
- Dampen a cotton swab with rubbing alcohol and gently dab the marker stain. Be careful not to rub hard, as this can spread the ink. Work in small circles and blot the area with a clean cloth to remove the lifted ink. You may need to repeat this process a few times for stubborn stains.
- If the rubbing alcohol doesn't work, apply a small amount of white, non-gel toothpaste to a damp cloth and gently rub the stained area. Rinse the cloth frequently and wipe clean with water. Dry thoroughly with a microfiber cloth. Always test this method in an inconspicuous area first to ensure the toothpaste doesn't scratch the cabinet finish.
Ink
Ink stains may be more difficult to remove than marker stains, but there are still ways to fight back! Consider this approach.
How to clean ink off kitchen cabinets:
- Mix equal parts water and vinegar and apply the solution with a damp cloth. Let it sit for at least 30 minutes to loosen the link - you may need to leave it longer for darker ink stains. Wipe clean with a damp cloth and dry thoroughly.
- Consider a commercial ink stain remover if the vinegar solution didn't work. Always follow the manufacturer's instructions carefully and test the product on an inconspicuous area of the cabinet first to ensure it doesn't discolor the finish. These removers can be more potent, so proper handling is crucial.
Cabinet Cleaning Safety Tips
Kitchen cabinet cleaning shouldn't be dangerous, but it's always a good idea to prioritize safety. Here are some key things to remember:
- Protect your hands: Wear rubber gloves to shield your skin from harsh chemicals and hot water.
- Ventilation is key: Open windows or turn on fans to ensure proper ventilation, especially when using strong-smelling solutions like vinegar or ammonia.
- Test before you tackle: Always test any cleaning solution on an inconspicuous area of the cabinet first to make sure it doesn't discolor the finish.
- Beware of flammable solutions: Avoid using flammable liquids like lighter fluid or paint thinner near open flames or pilot lights.
- Keep children and pets away: Lock cabinets with harsh chemicals or cleaning supplies to keep them out of reach of curious children and pets.
How To Clean Your Kitchen Cabinets FAQs
Conquered the cleaning process? Great! But you might still have lingering questions. We answered some common queries to ensure your kitchen cabinets stay looking their best.
How do you clean kitchen cabinets without removing the finish?
The key to cleaning cabinets without damaging the cabinet finish lies in a gentle touch and natural solutions. Avoid harsh chemicals, abrasive scrubbers, and excessive water. Instead, opt for microfiber cloths, diluted dish soap, vinegar solutions, and baking soda pastes for targeted stain removal.
What is the best thing to clean wood kitchen cabinets with?
For everyday cleaning of wood kitchen cabinets, simply wiping down your cabinets with a damp microfiber cloth is the gentlest and safest option. This avoids any harsh chemicals or cleaners that could potentially damage the wood finish.
For tougher grime or stains, you can create a cleaning solution with equal parts white vinegar and water, but always test it in an inconspicuous area first.
Can you use Dawn dish soap on wood cabinets?
Yes, you can use Dawn dish soap on natural wood cabinets. However, it's important to thoroughly rinse the area afterward and dry it with a clean cloth to prevent any residue that could damage the wood.
Time To Roll Up Your Sleeves
Now that you know how to clean kitchen cabinets, it's time to roll up your sleeves and get started. With a few simple steps, you can easily keep those cabinets looking like new for years to come.
If the stains and scratches can't be removed despite your hard work, it may be time to make that dream remodel a reality by replacing your kitchen cabinets altogether.
Browse our selection of popular kitchen cabinet styles to find a style that perfectly suits your space.